

Uploading Avatars Into VRChat

Aug 26, 2023
#CATURDAY
Part 1// Creator Companion
This Caturday we showed users how to upload avatars into VRChat using VRChat's very own Creator Companion application!
Creator Companion is like a special tool or program that helps people create and customize things in the VRChat virtual world. Imagine you have a big box of colorful LEGO blocks, and you want to build your own unique LEGO house. The Creator Companion is like the instruction book that shows you how to put the blocks together to make your house. It helps you design your own characters, places, and things inside VRChat so you can have a lot of fun and be creative!
When installing Creator Companion it will have steps within the application to follow so we can get the right version of Unity installed and on our way to uploading an avatar!
Part 2//Project Creation
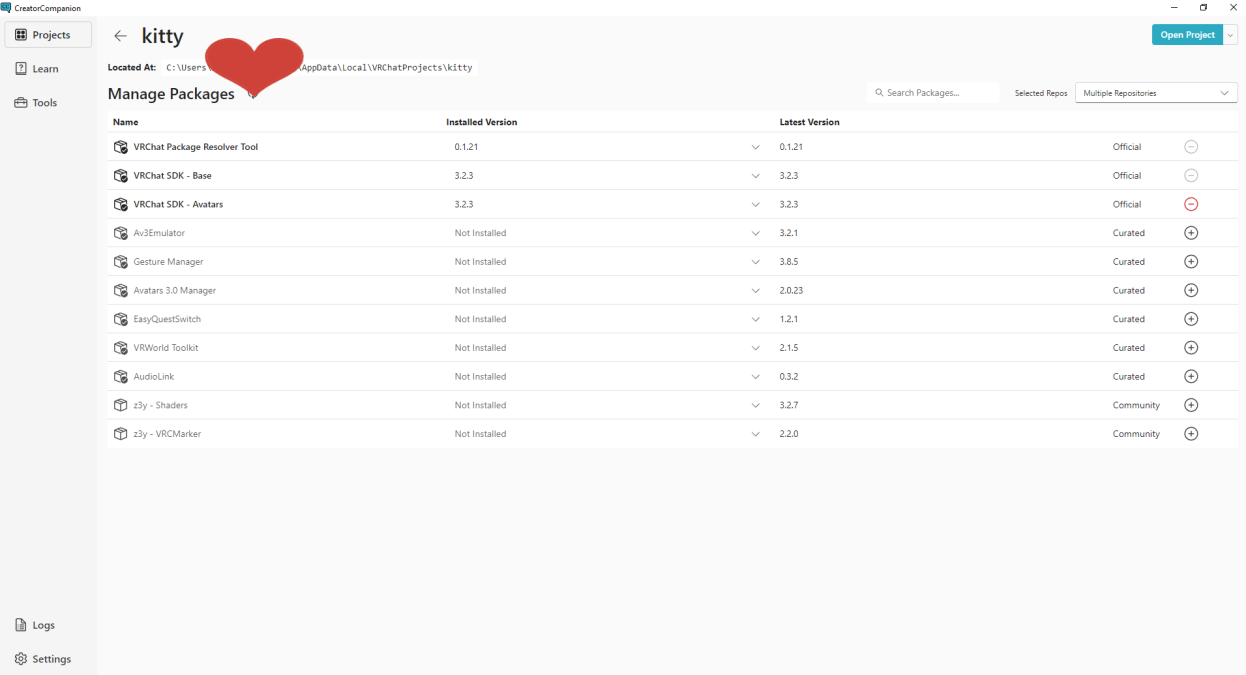
Once you have everything you need installed, the Creator Companion will open and will show you which project you would want to create in this case we'll be picking avatar. Next, you want to name your project whatever you decide and then you can choose to put the project location on your computer if you want it in a certain place. If not then you can leave it as is.

After all of that is done you'll be brought to this next window for this case we can skip it since we're not doing anything extra with our avatar.
Lastly, click the "Open Project" button to then have your project being created and opening up into Unity.
Part 3// Uploading Your Avatar
Now with Unity open you'll see a new section at the top of Unity called "VRChat SDK" click on that and then click on "Show Control Panel" a panel should pop up looking like this.

From here this is where you can log into your VRChat account so when you upload your avatars it goes to your very own account.
Next you can now drag and drop your avatar into Unity.
PLEASE NOTE: When using a free avatar or any bought avatars to ALWAYS check the description of the avatar to see if you can use the avatar commercially or not as well as make your own edits to the avatar. This is very important to respect the creator and follow their rules.
Once your avatar is fully loaded go head over to the window shown before and click "Builder" from there we can now hit "Build and Publish for Windows."

After that you'll be brought to this window.

Here just type in whatever name you want the avatar to be in this case I just set it as whatever the creator has the name set as and make sure your sharing is set to private as well as agreeing to VRChat's rules from there hit the "Upload" button and boom! You're all done!

You now have your very own avatar uploaded into VRChat!